6 Processes
6.1 Standard
6.1.1 Drilling
6.1.2 Cylinder
6.1.3 Slice
6.1.4 Tennon
6.1.5 Mortise
6.1.6 Trapeze
6.1.7 Round
6.2 Addons Loghome
6.2.1 Electric Outlet
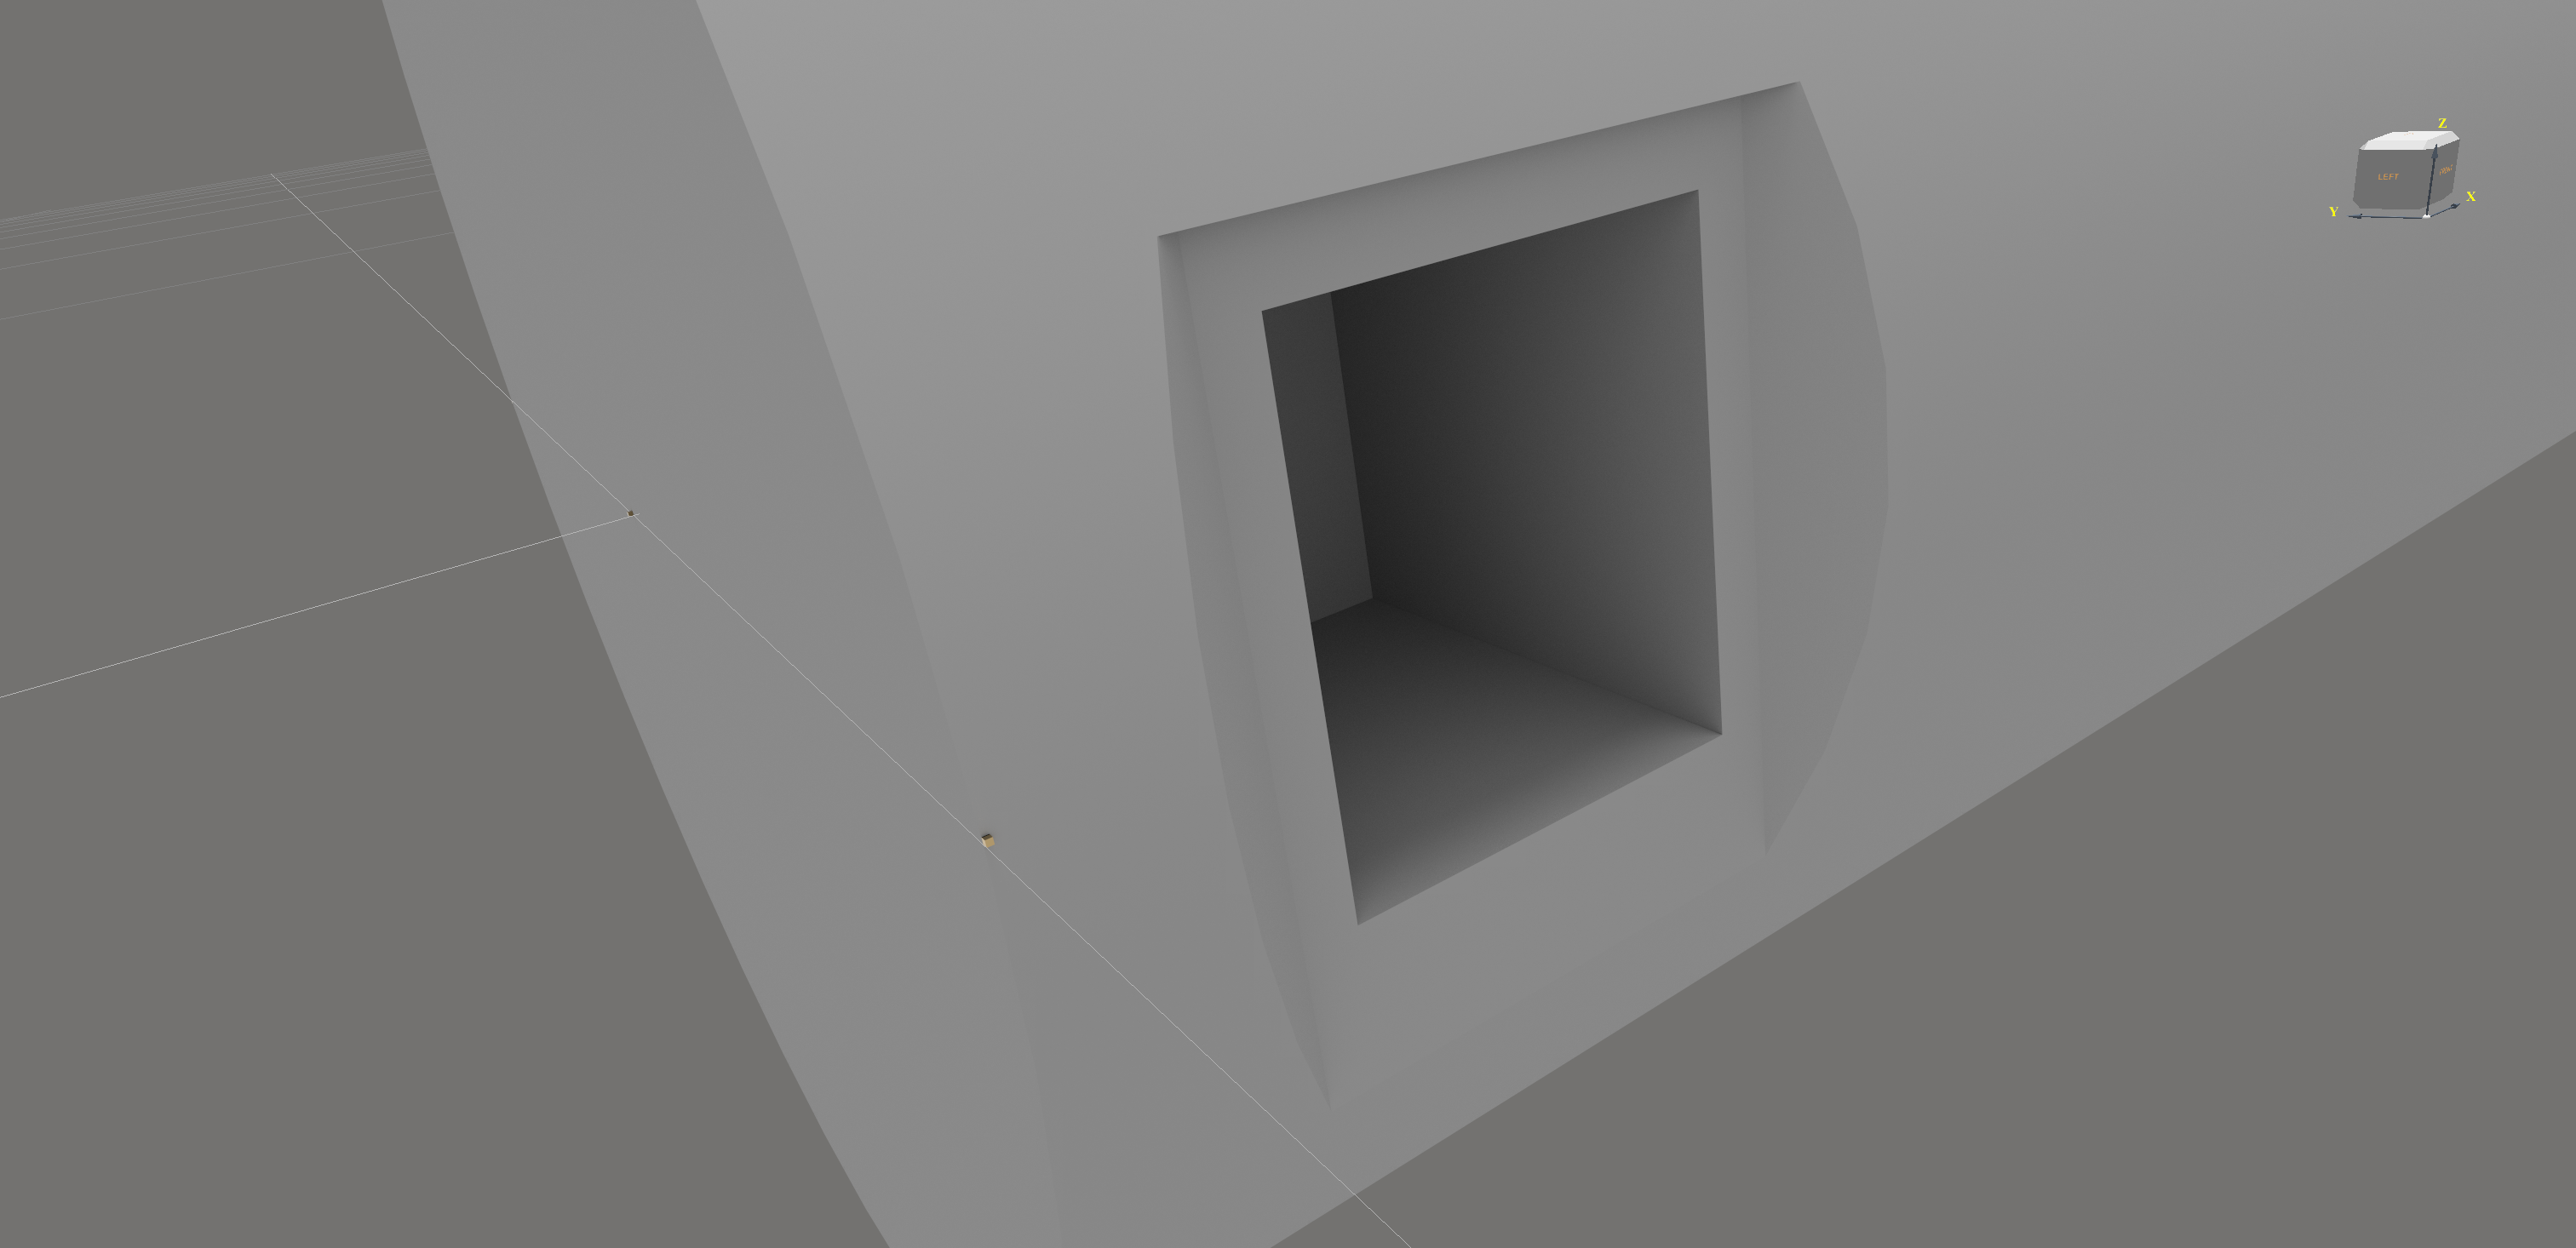
This process can be used to cut an electric outlet at any position with ease. It can be a box or round, with a hood or without also clips - even only on one side if needed.
| Property | Description | Remarks |
|---|---|---|
| Tool | The tool to cut the outlet | The whole process is cut with one tool. This tool needs to be able to plunge. Best is the 30mm end mill |
| Width | Width of the box | if Style = 0 |
| Height | Height of the box | if Style = 0 |
| Depth | Depth of the box/cylinder from the plate | |
| Diameter | Diameter of the cylinder | if Style = 1 |
| PlateWidth | Width of the plate | |
| PlateHeight | Height of the plate | |
| PlateDepth | Depth of the Plate (not needed for cutting) | |
| Overcut | Dimension to make sure the cut will be vertically long enough to cut out of the wood. | Standard value is good enough for 99% of cases and don’t need to be changed. |
| ClipLeft | Cuts a 45 deg clip on the left | |
| ClipRight | Cuts a 45 deg clip on the right | |
| Hood | Leaves a hood for rain protection if true. If false, it will cut to the top | |
| Style | Set box=0 or cylinder=1 |
How to place an outlet
Currently an outlet can only be placed on a “normal” log (not on a panel log).

Warning
WARNING: The start of the cutting is the radius of the log. So make sure that the diameter of the log is set correct. Otherwise there is a possibility of a crash.
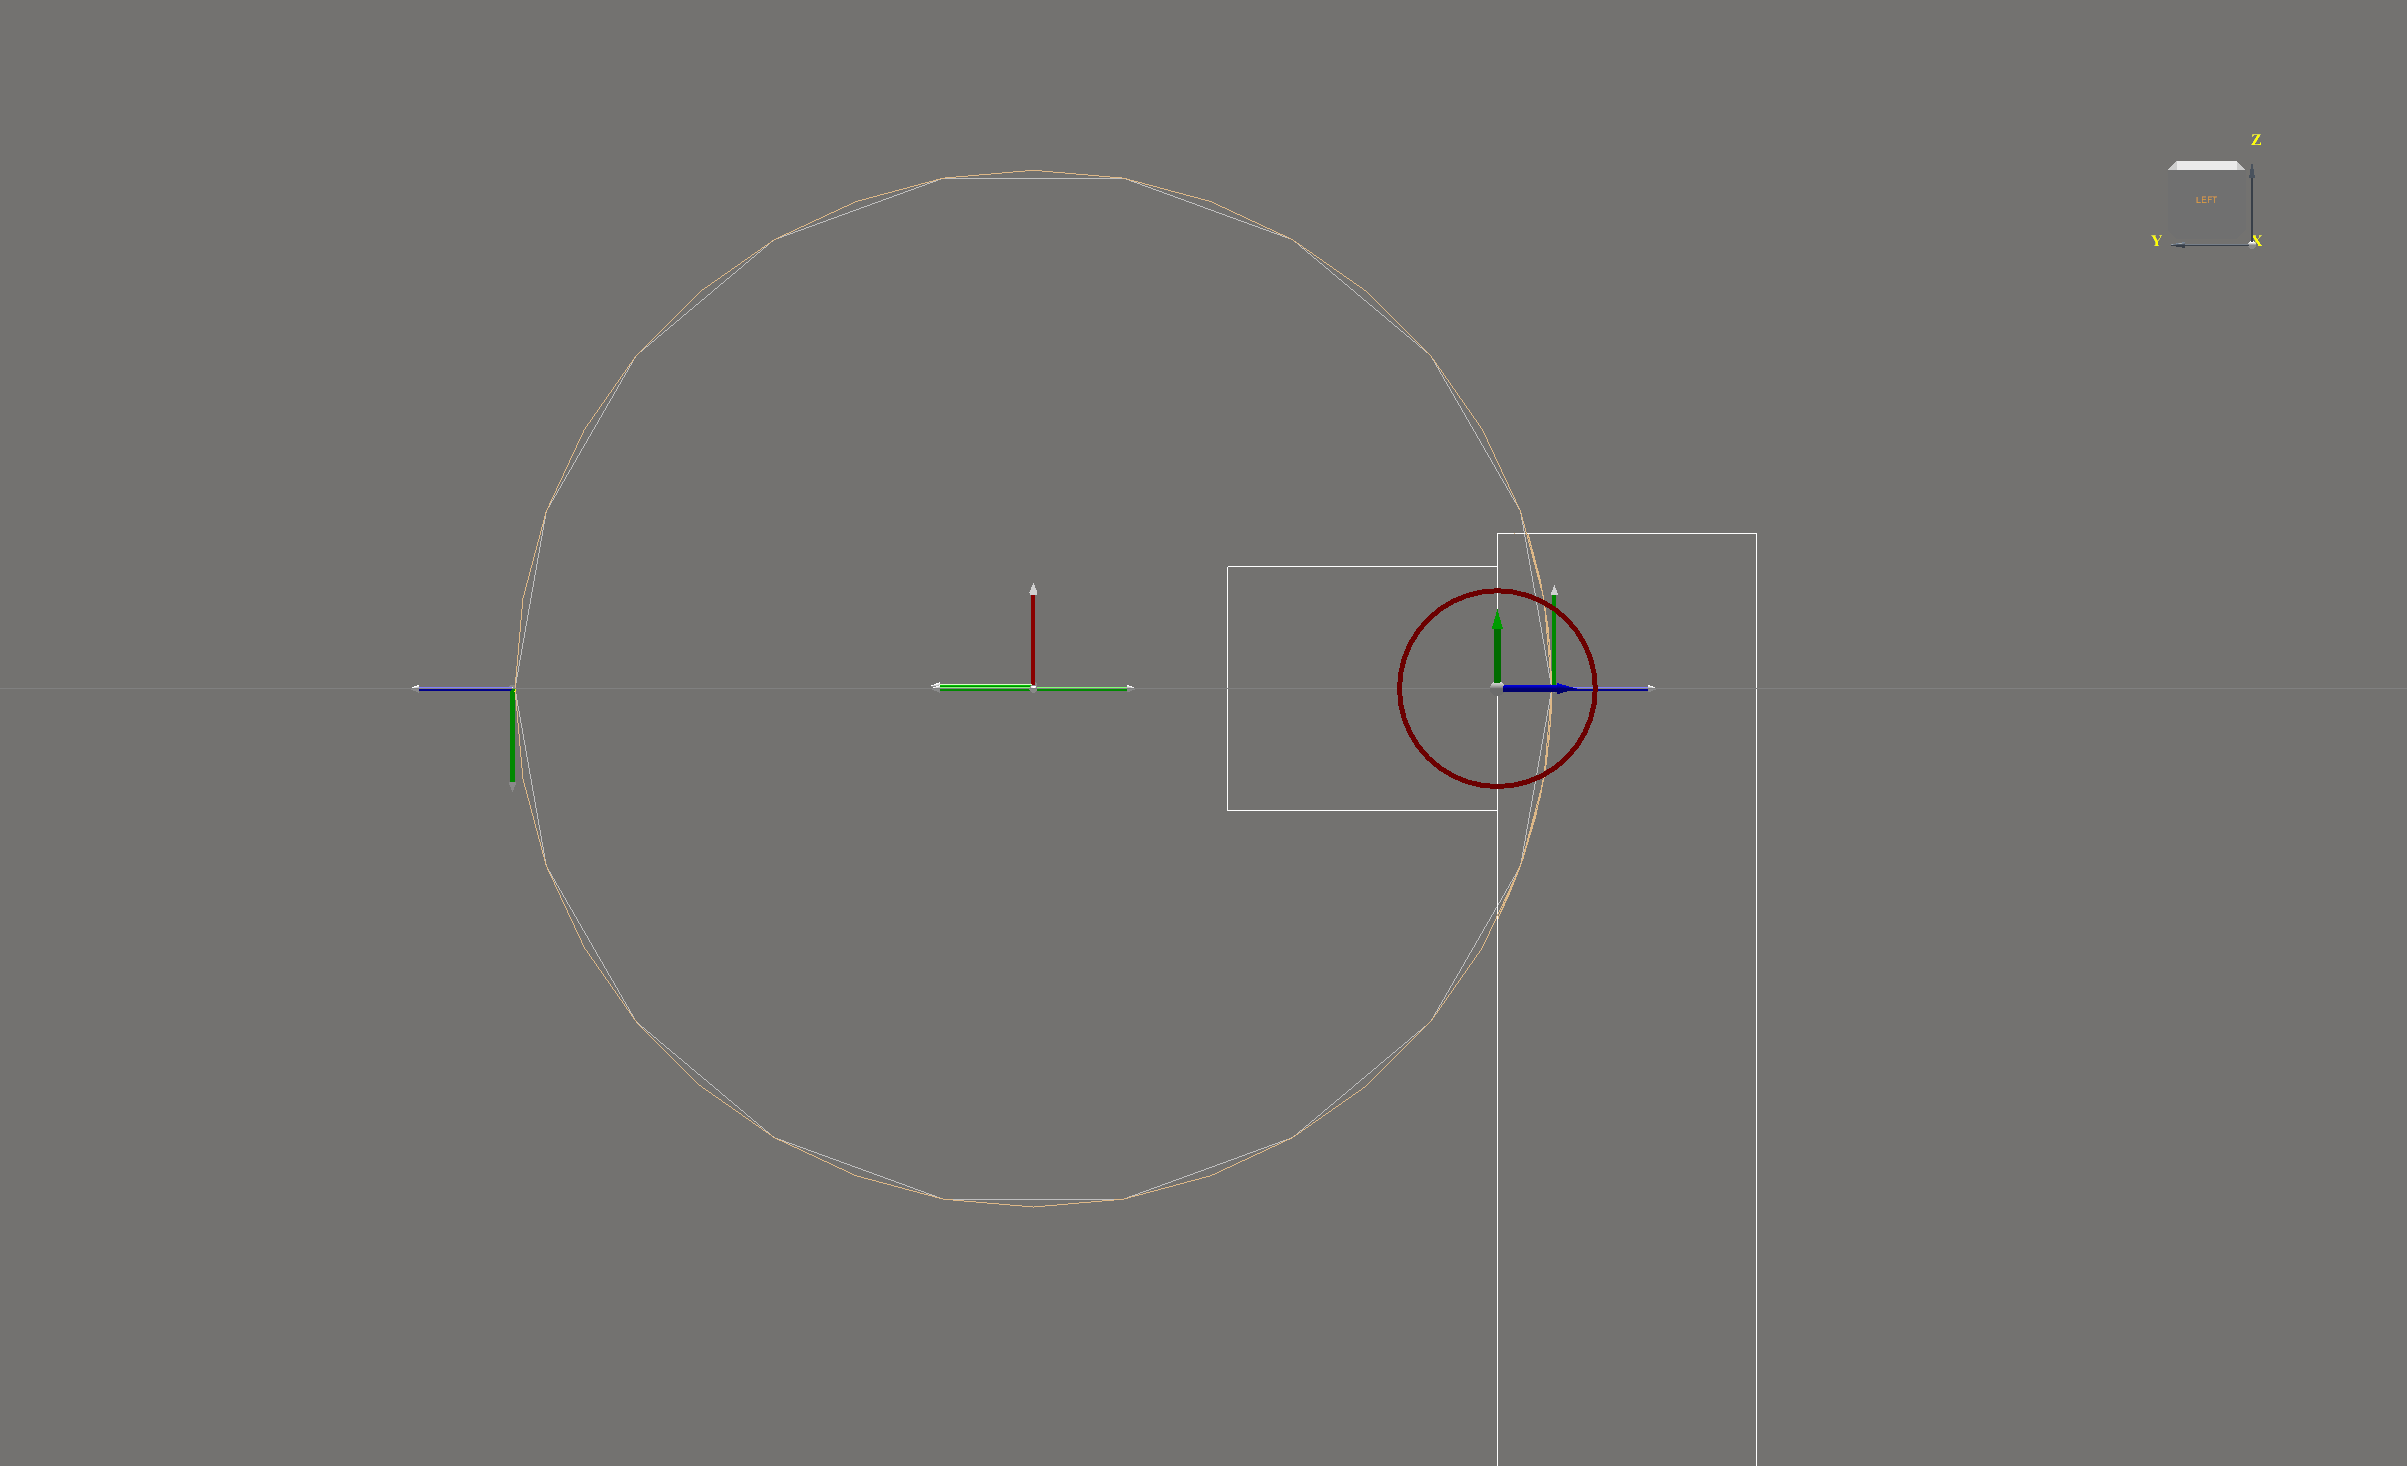
Best way to place an electric outlet:
- Switch to Ortho mode
- Switch to Wireframe view
- Look at the log from the side
- Add an outlet and set the parent face of the outlet to 180 degrees
- Move the outlet only in the Z-Axis (blue) into the log until the hood is to your liking
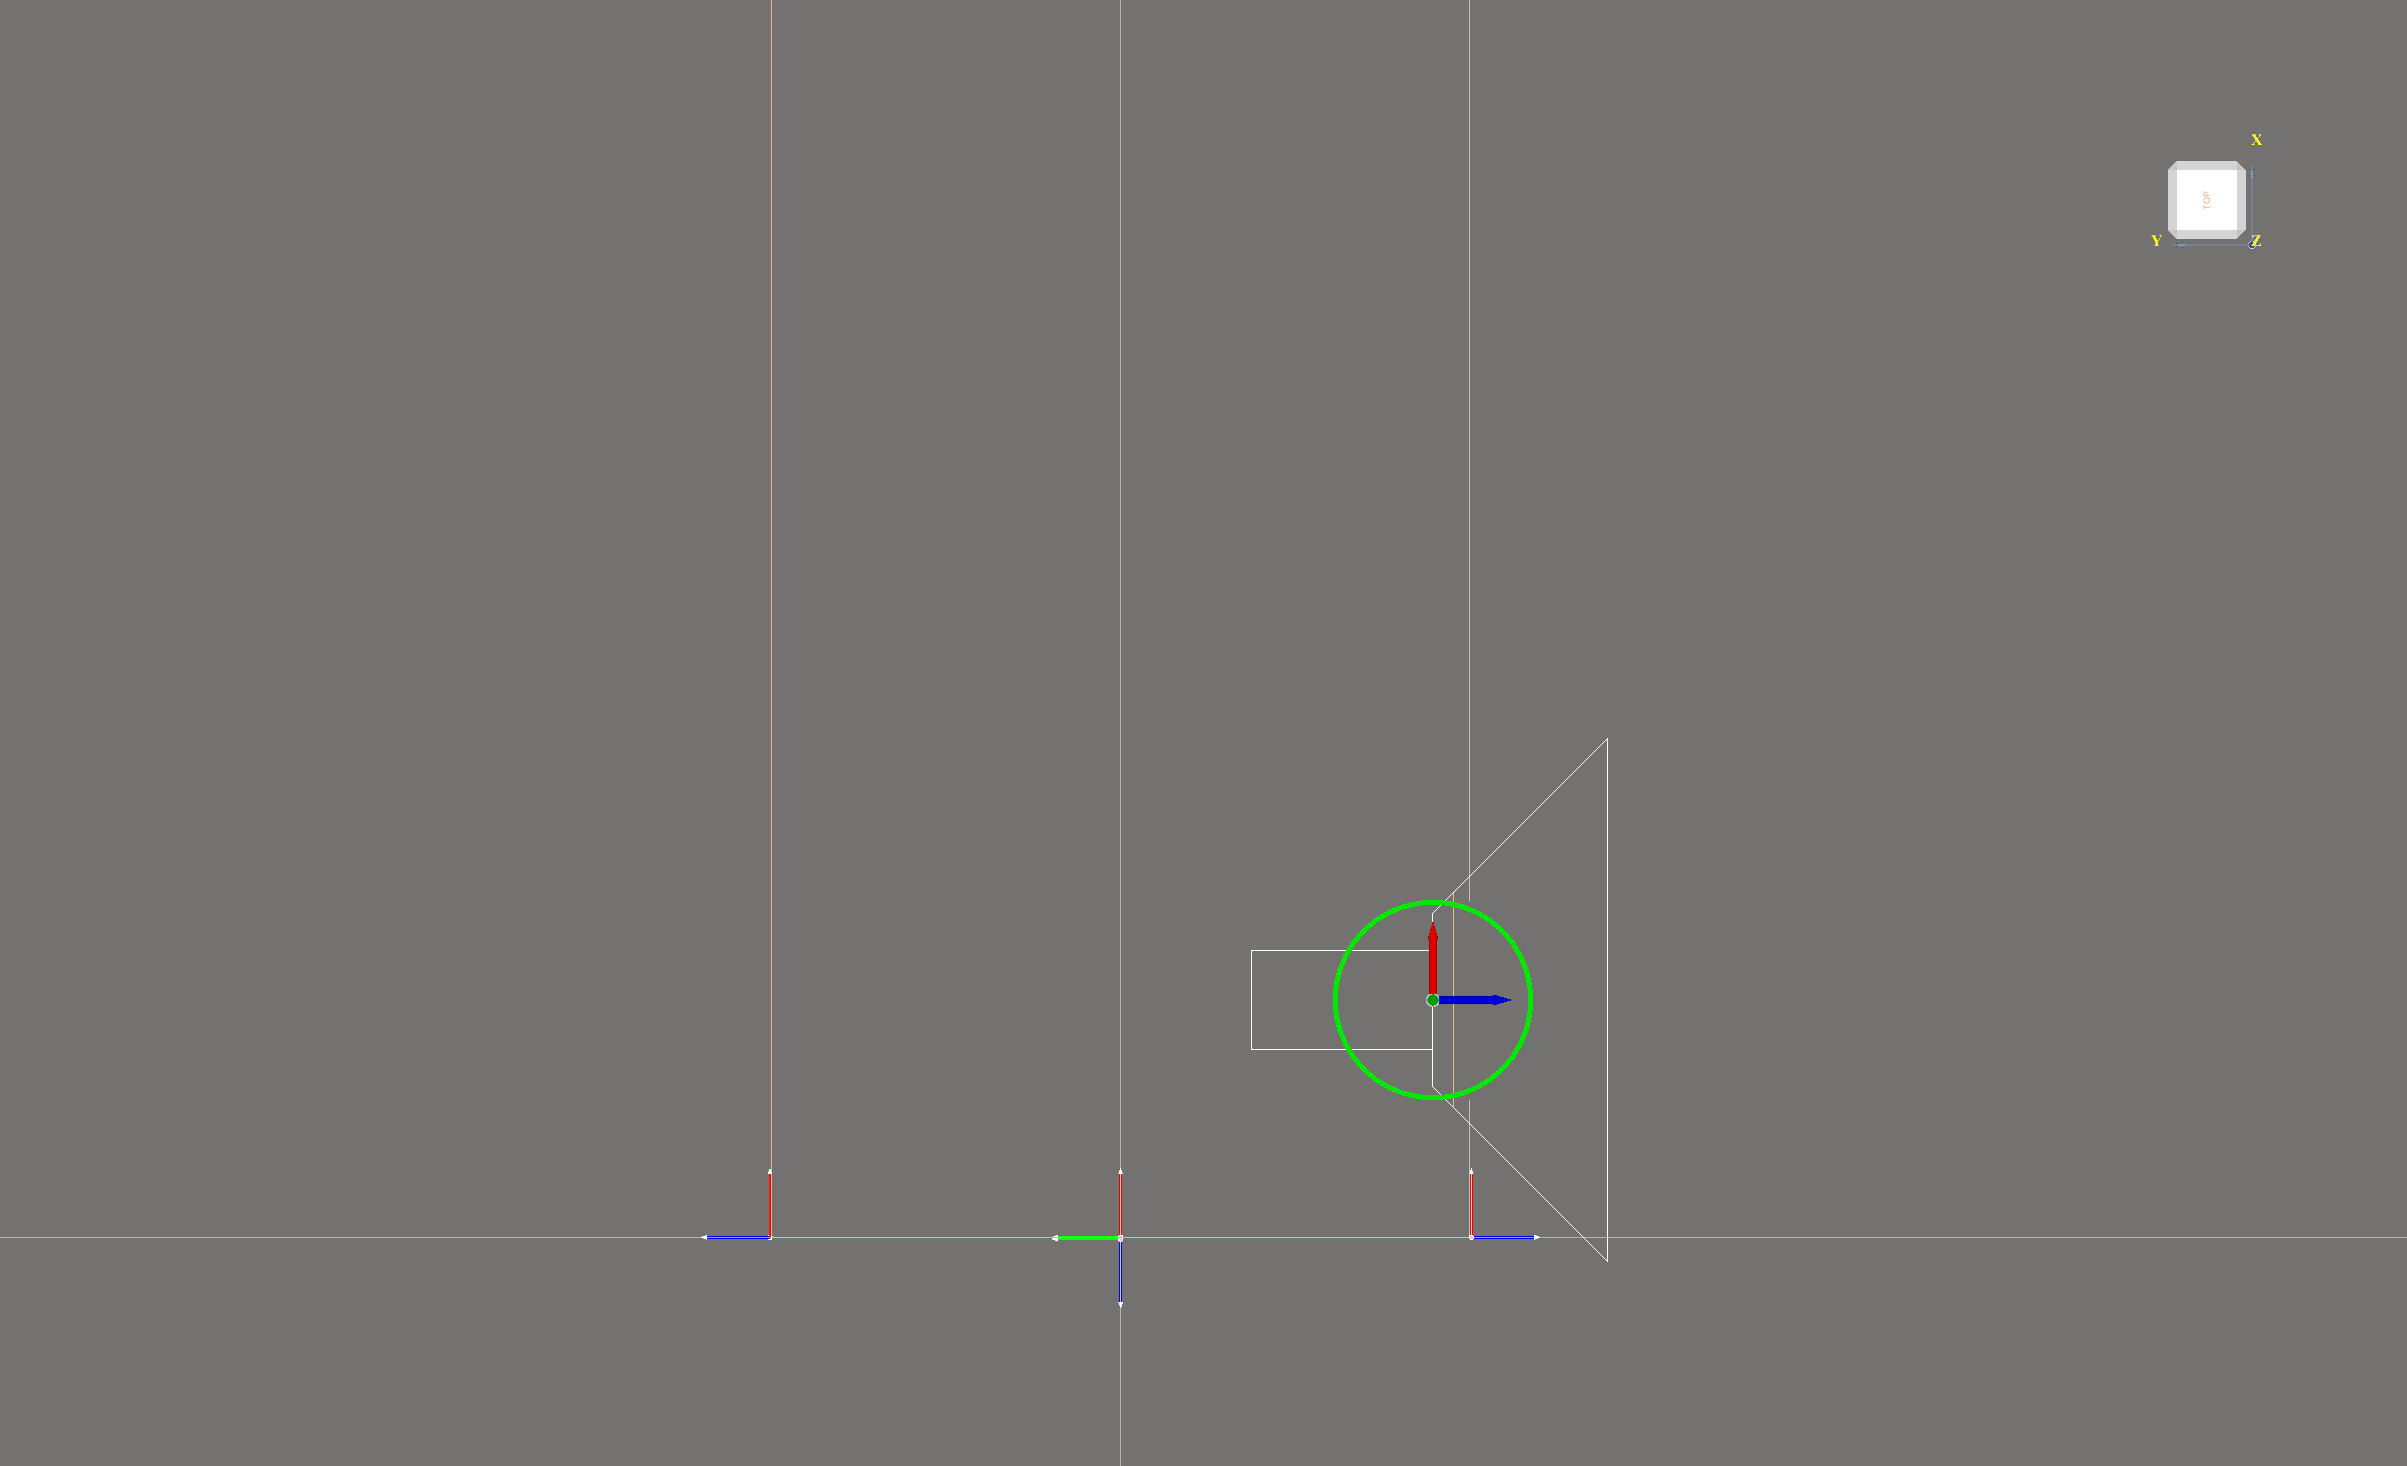
- Look from the top
- Move the outlet in the X-Axis (red) to the desired position